svu v3
Back in 2017, I got tired of manually checking and creating git tags.

This is just a quick overview of how I did it in antibody’s homepage.
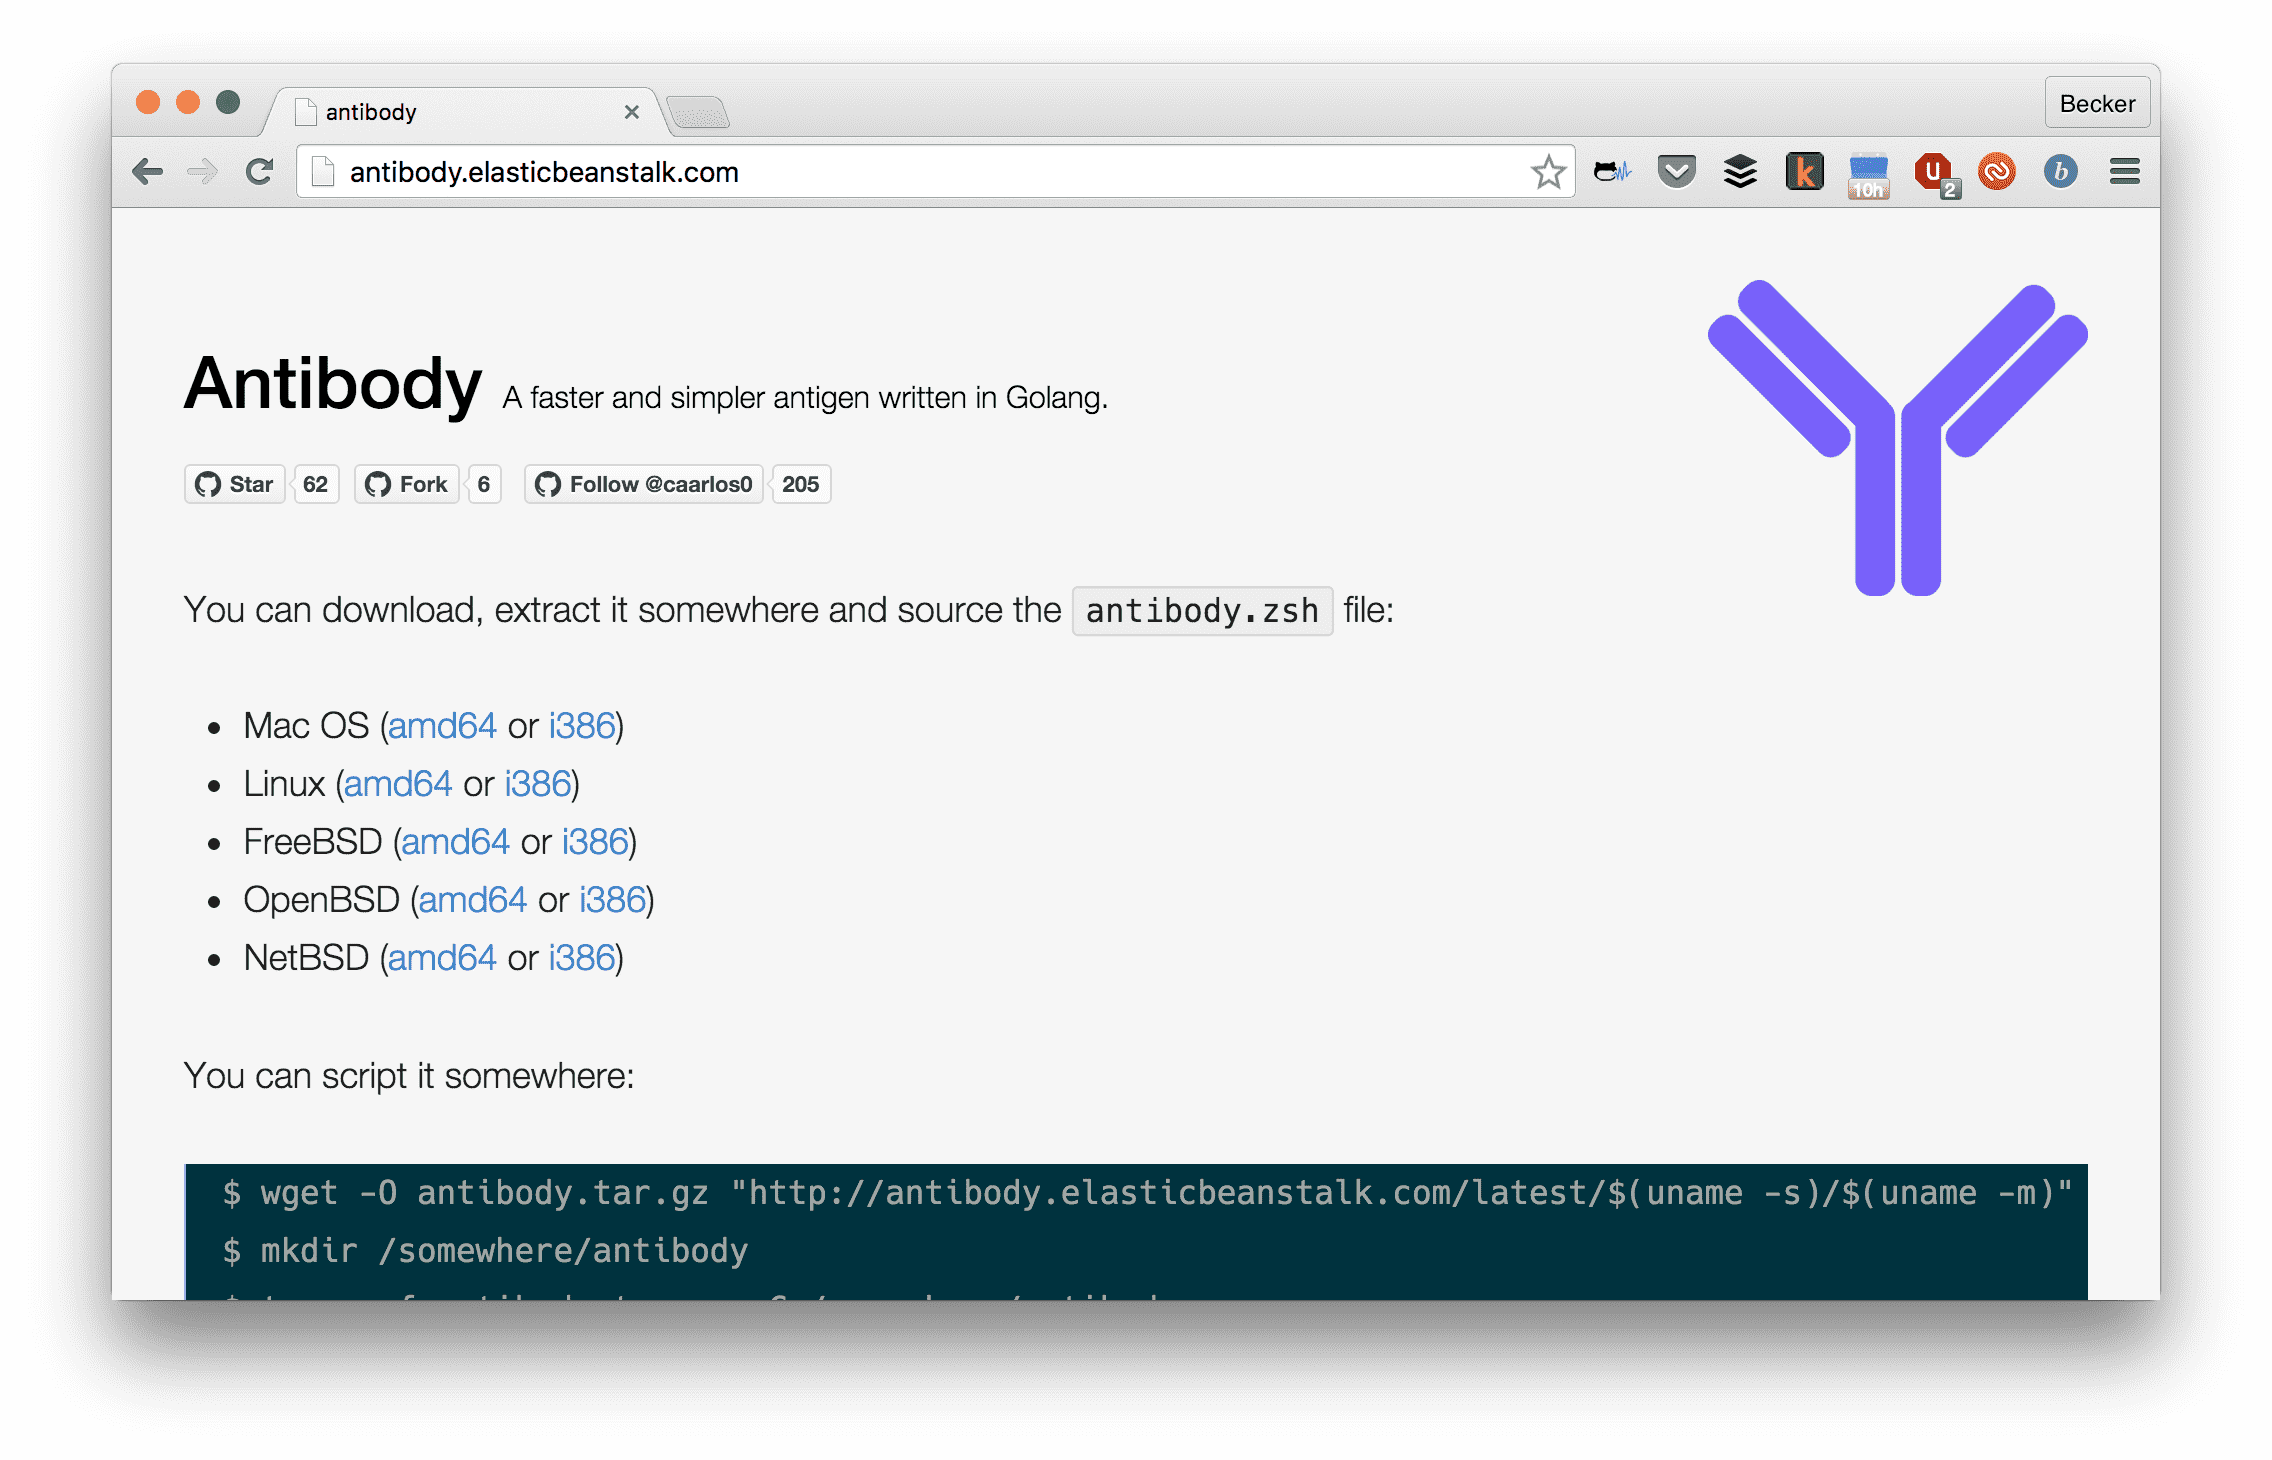
Antibody's home page.
The site has a very simple index.html plus a service that can discover and download the latest
antibody version from GitHub releases. Not sure how relevant this is, but the service is written in Go.
Currently, every commit pushed to the master branch of the site repo will be automatically pushed to production. There is no option to skip that.
Let’s see how this can be done using GitHub, CircleCI, Docker and Amazon ElasticBeanstalk.
The very first part of all this process is the Dockerfile. This file describes the software needed to run our service, also how the service is deployed inside it:
FROM alpine:3.2

ENV GOPATH=/gopath \
  SRC=/gopath/src/github.com/getantibody/getantibody

WORKDIR $SRC
ADD . $SRC
EXPOSE 3000

RUN apk add -U git go && \
  go get -v -d ./... && \
  go get -v github.com/GeertJohan/go.rice/rice && \
  /gopath/bin/rice embed-go -i ./server && \
  go install -v ./... && \
  apk del git go && \
  rm -rf /gopath/src /gopath/pkg /var/cache/apk/*

CMD /gopath/bin/server
As you can see, I get all dependencies, do what I need with them and clean it up, in one single step, just to ensure that the image will be as small as it can, currently, around 20Mb.
For the awsebcli to work, after the app is already created, we need a Dockerrun.aws.json file. Mine looks like this:
{
  "AWSEBDockerrunVersion": "1",
  "Image": {
    "Name": "caarlos0/getantibody:%BUILD_NUM%",
    "Update": "true"
  },
  "Ports": [
    {
      "ContainerPort": "3000"
    }
  ]
}
Nothing extraordinary here, I just expose the port 3000 and set the image name, which has a %BUILD_NUM% expression in it… but I’ll explain that later.
I put this file inside a .deploy folder. The only thing in that folder is this single file, because awsebcli zips and uploads everything inside the folder you are when you run eb deploy, and we need just that one file.
The circle.yml file must do the following:
awsebcli;awsebcli;That said, mine looks like this:
machine:
  services:
    - docker
  python:
    version: 2.7
dependencies:
  pre:
    - pip install awsebcli
deployment:
  production:
    branch: master
    commands:
      - docker login -e "$DOCKER_EMAIL" -u "$DOCKER_USER" -p "$DOCKER_PASS"
      - docker build -t "caarlos0/getantibody:$CIRCLE_BUILD_NUM" .
      - docker push "caarlos0/getantibody:$CIRCLE_BUILD_NUM"
      - sed -i'' -e "s;%BUILD_NUM%;$CIRCLE_BUILD_NUM;g" ./.deploy/Dockerrun.aws.json
      - cd .deploy && eb init -r us-east-1 getantibody
      - cd .deploy && eb deploy -l $CIRCLE_BUILD_NUM
The most interesting part here surely is the deployment section.
The DOCKER_* environment variables are configured in the CircleCI panel, and are used to login to Docker Hub. The CIRCLE_BUILD_NUM environment variable is provided by CircleCI itself and is used
to tag the image and build (more on that later).
You can also see there the sed expression that replaces the %BUILD_NUM% expression by the CIRCLE_BUILD_NUM variable inside Dockerrun.aws.json, so that way we link the Beanstalk deploy version with the Docker image tag.
x?I tag the image and the deployment with the CircleCI build number, so I can track down which commits are in production, just by looking at the tag names.
For example, at the time I wrote this, tag 63 was deployed to Elastic Beanstalk:
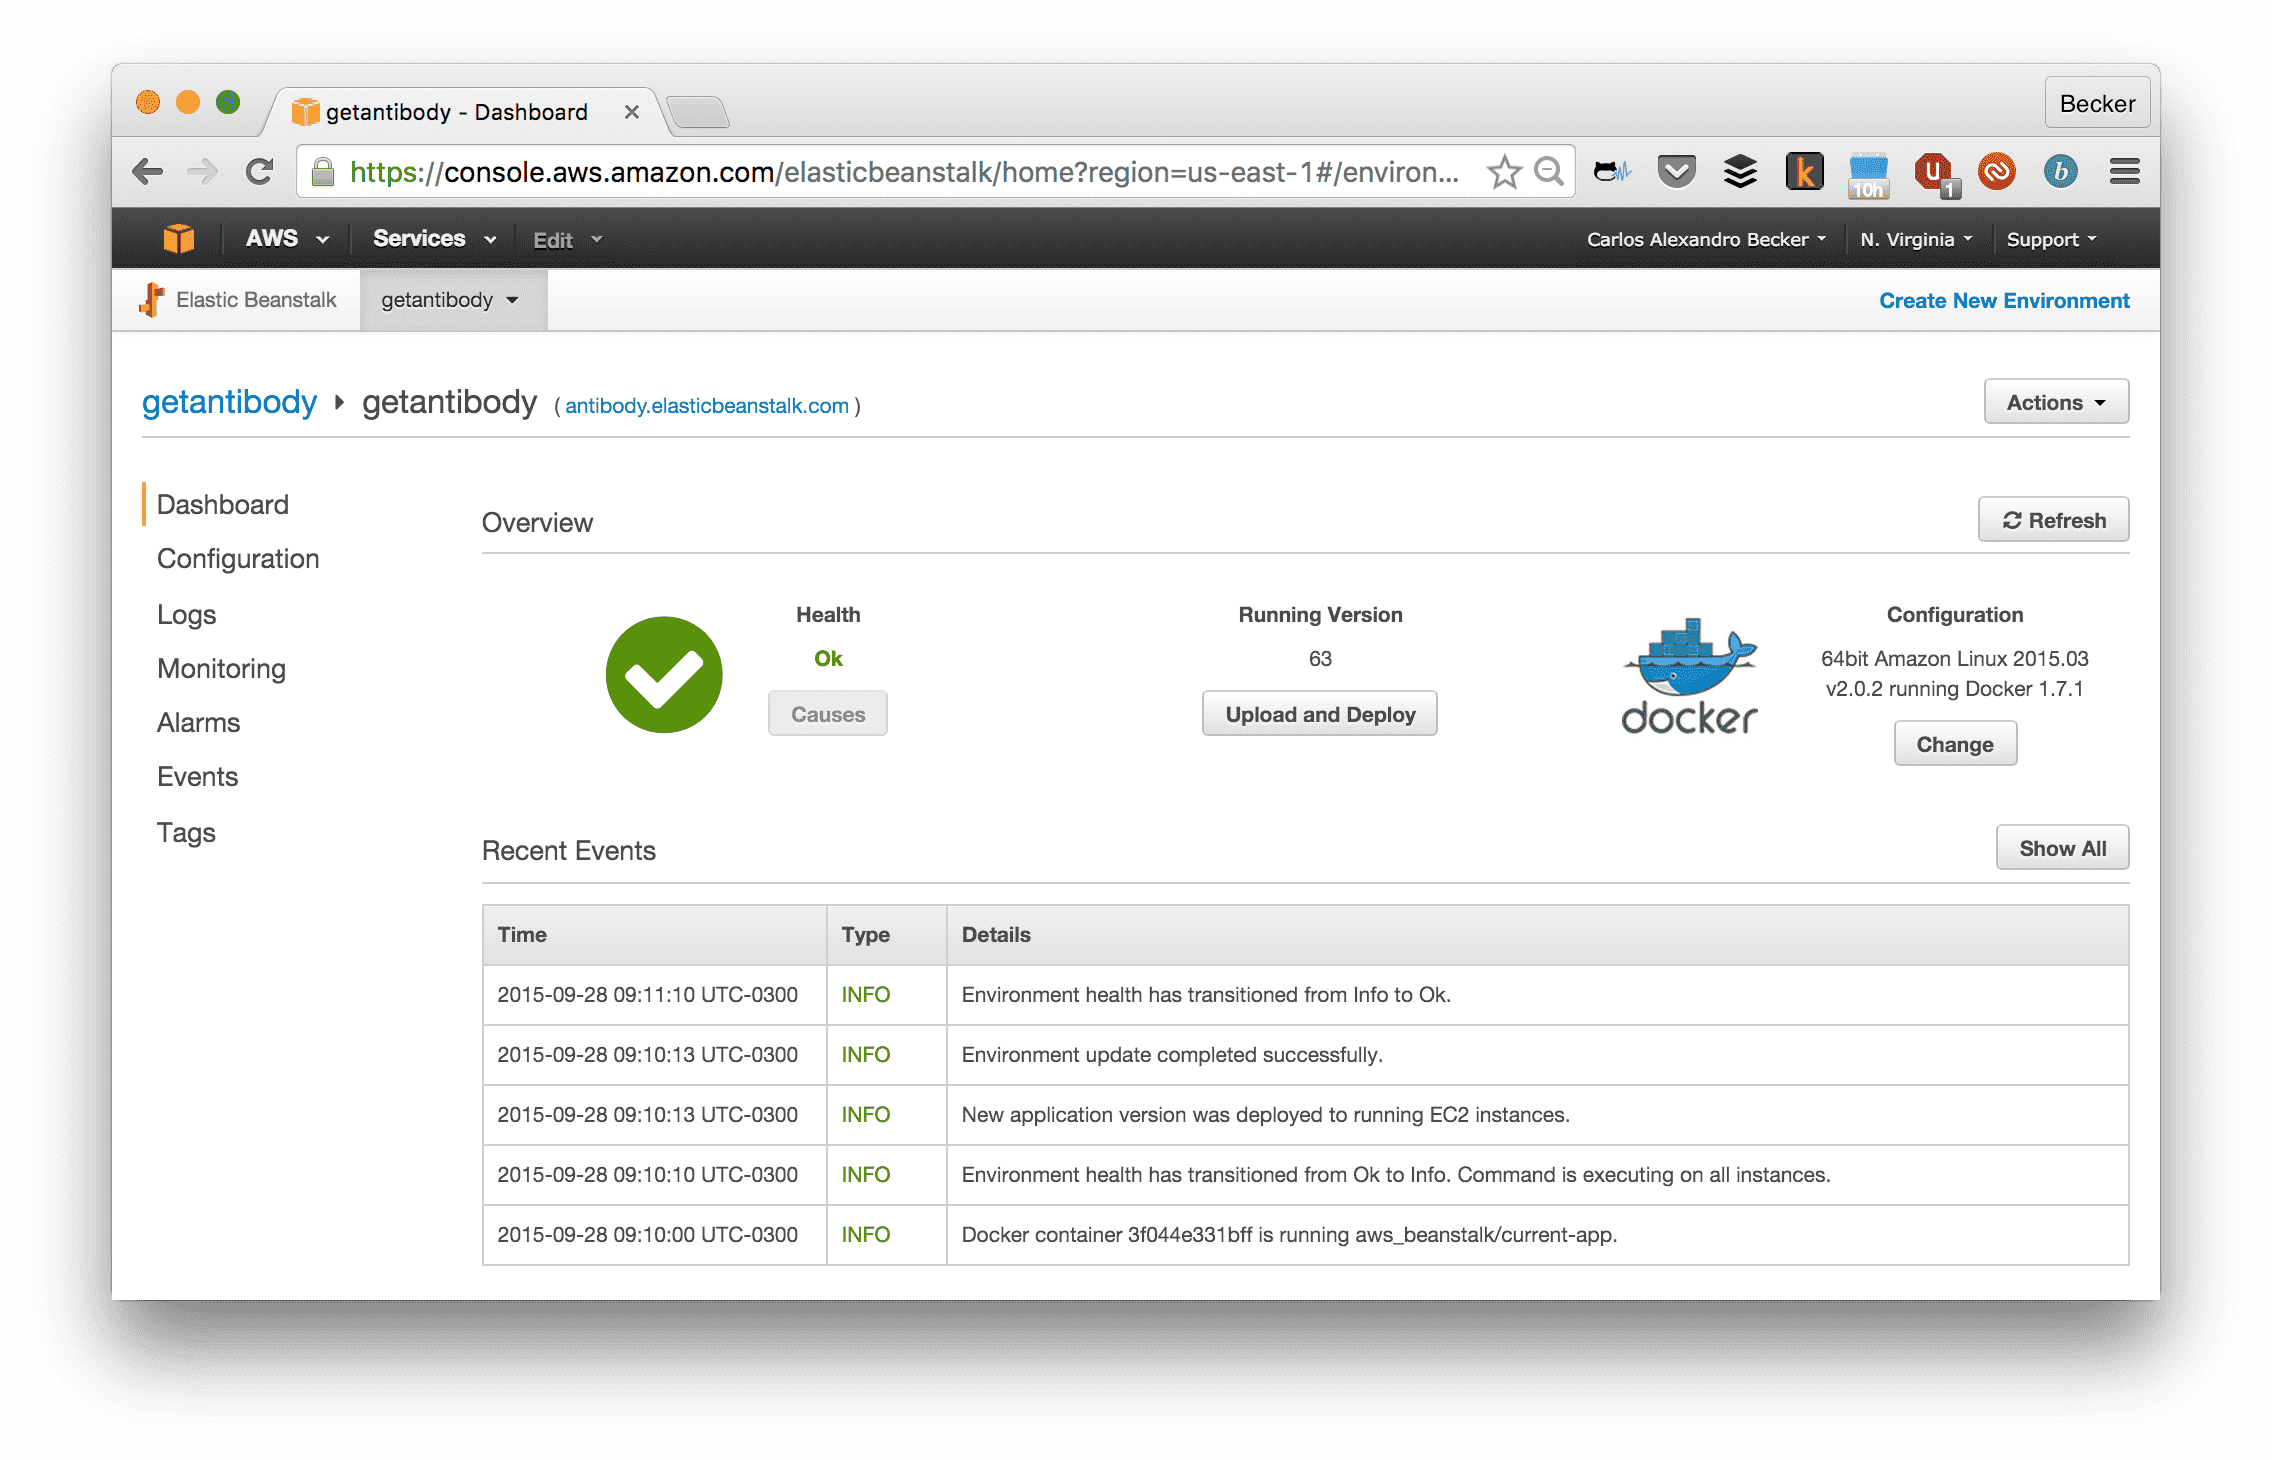
Beanstalk interface.
Which I know is deploying the Docker image tag 63:

Docker Hub interface.
Which I know was built in build number 63 in CircleCI:
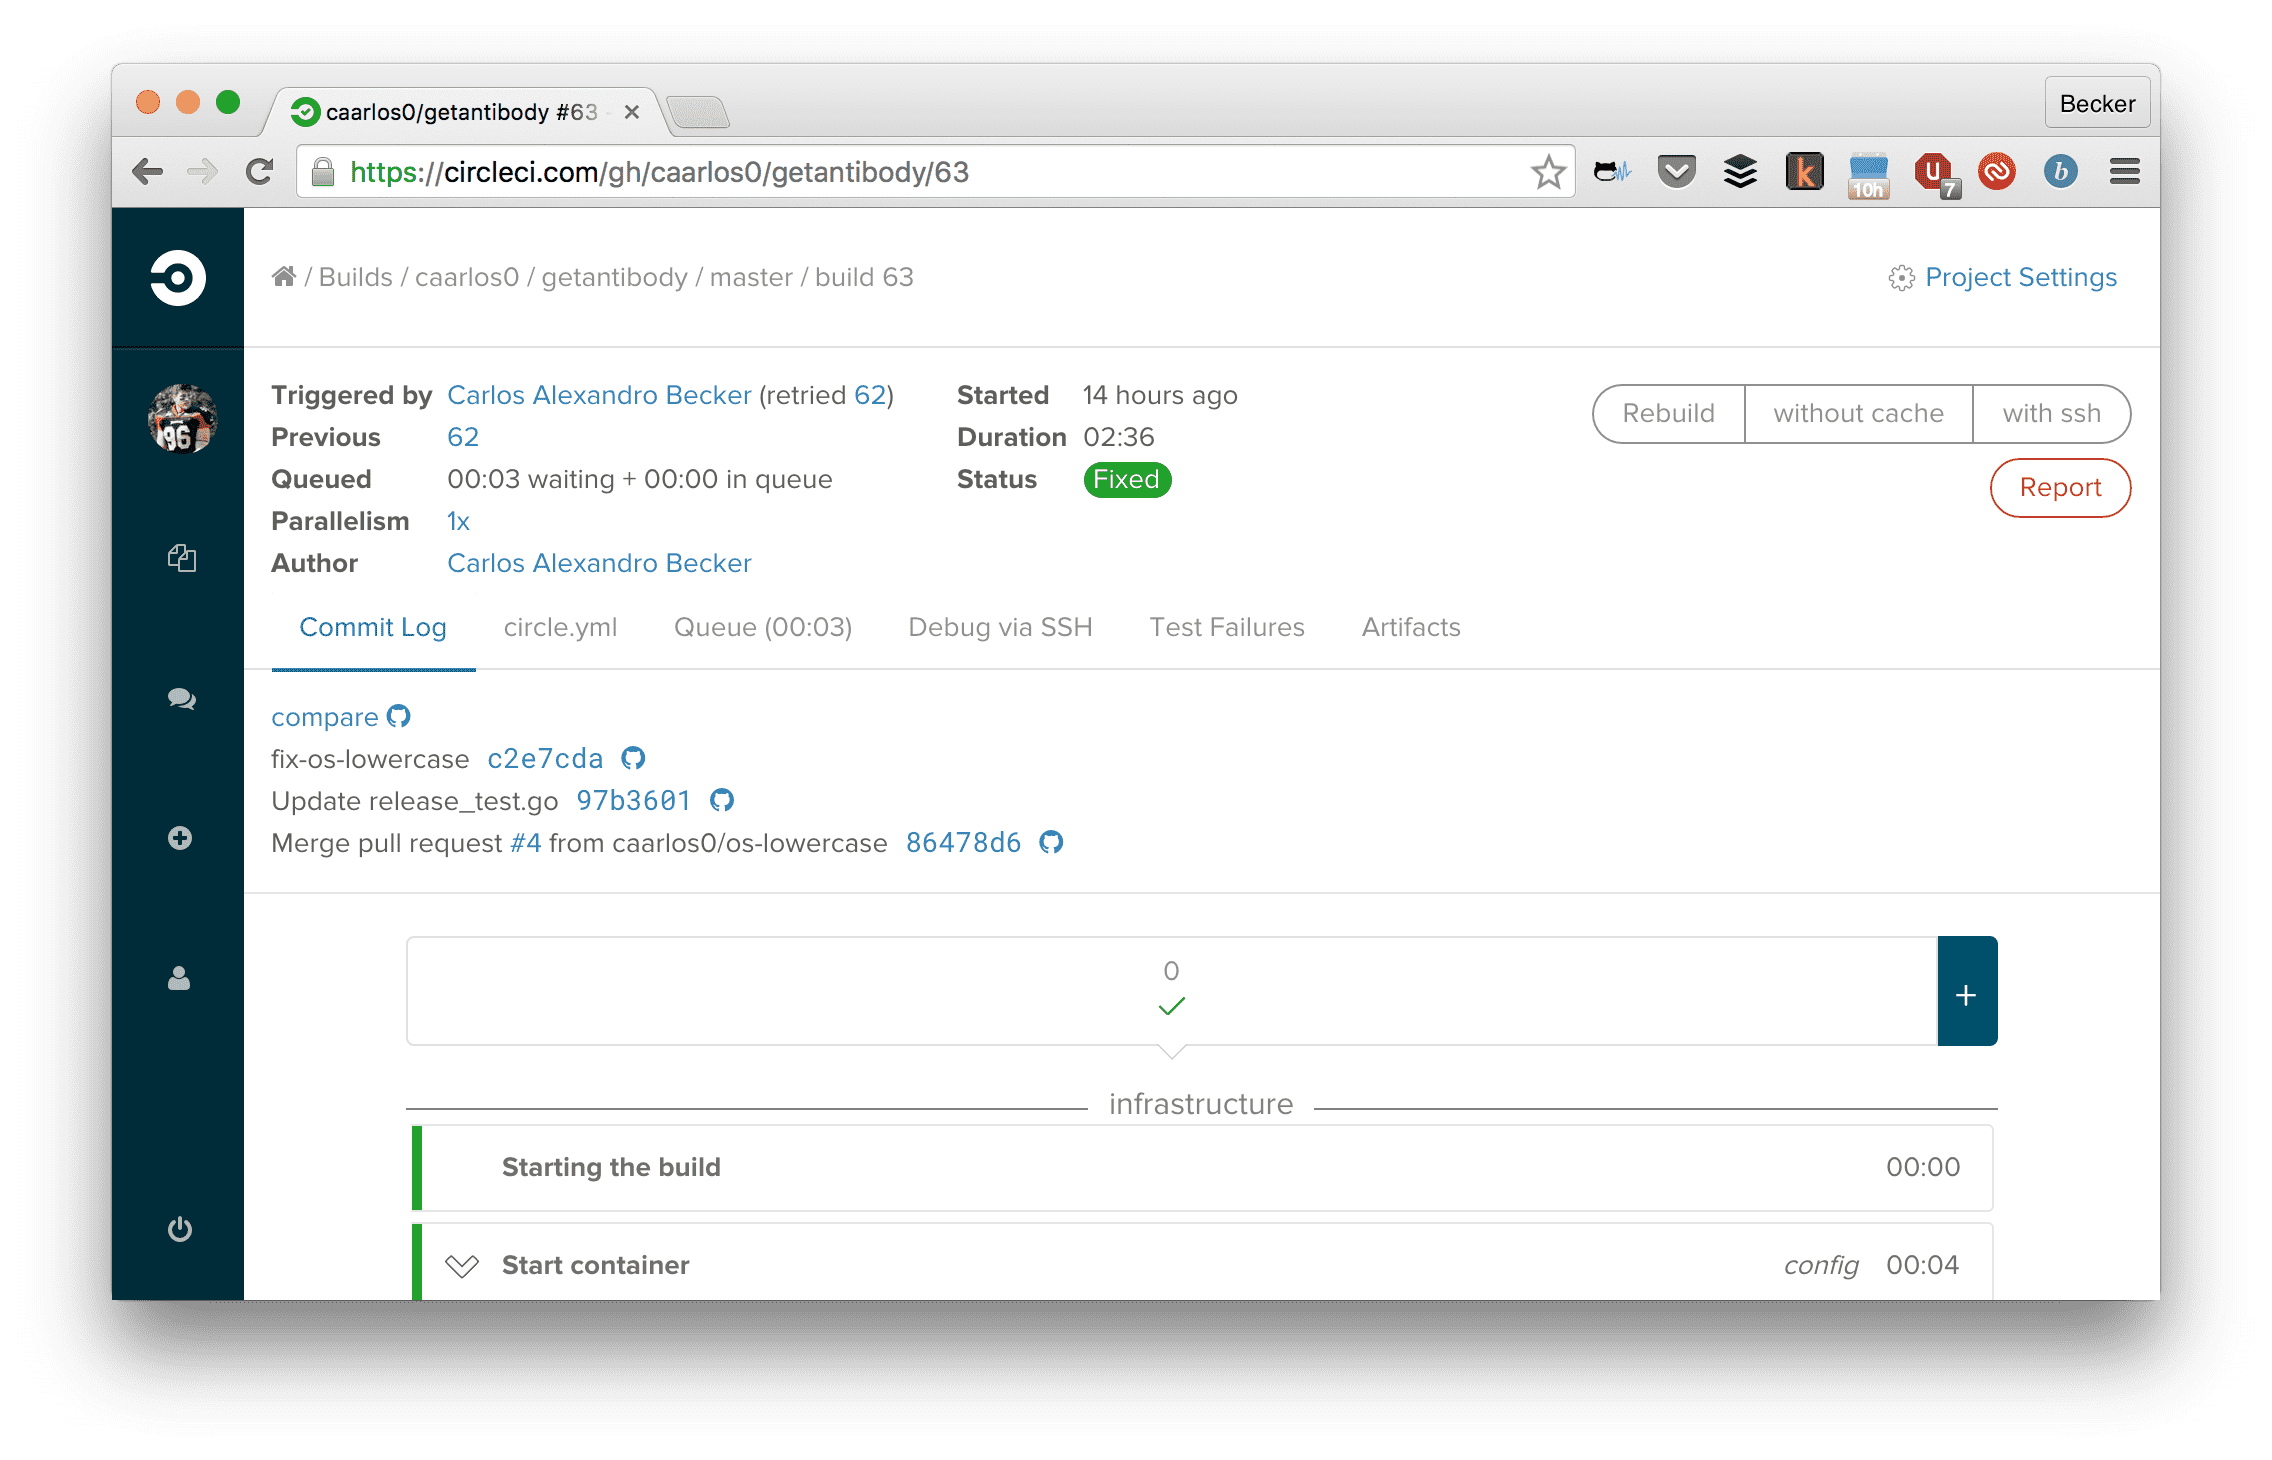
Circle CI build screen.
In which were added the following changes (click the “compare” link on CircleCI):
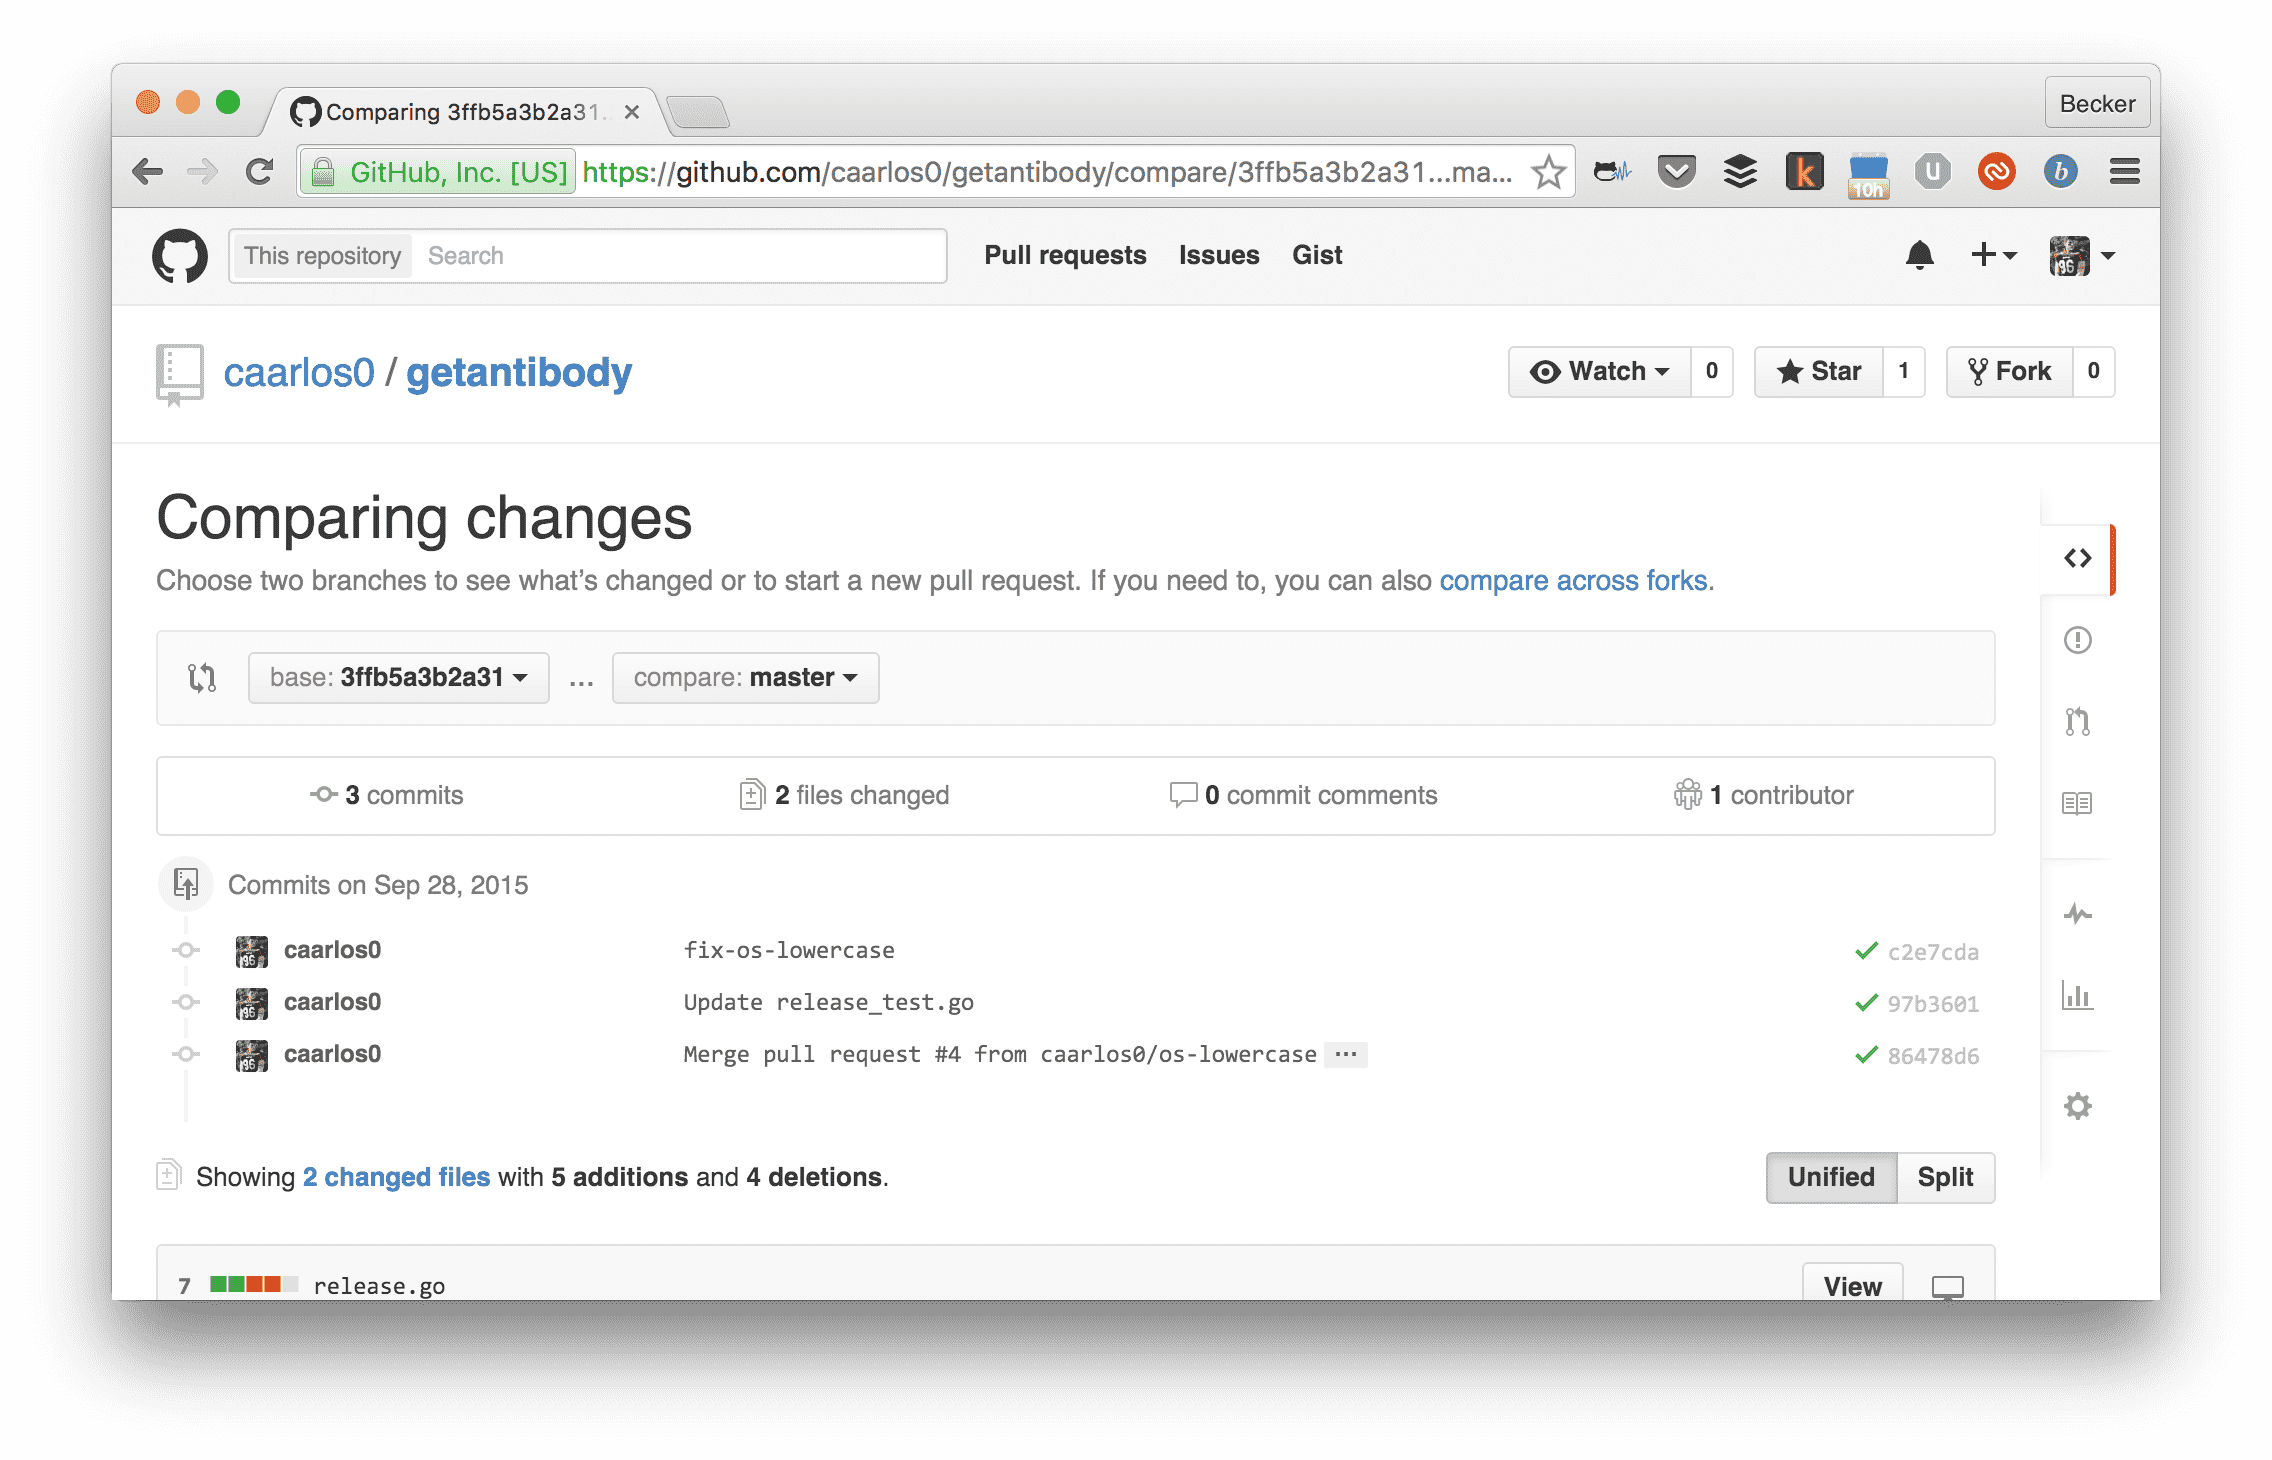
GitHub interface.
Isn’t that great? You can track down a version deployed in production directly to the source code that was introduced with it. Since the Docker image config is in the repo too, we can also kind of track infrastructure changes!
I know, it is a very simple workflow and might not work for everyone, but it is simple enough so you can basically copy-paste on your own pet project and try it!
BTW: I’m using AWS free tier for the app, so, yup, it’s free… at least for now.
Last but not least, you can see the entire source code here.
Cheers! 🍻